ros内部非常适合程序间进行通信,其内部又包含了非常方便的图标工具。下面就是一个用ros提供的工具做实时的舵机角度显示的例子。
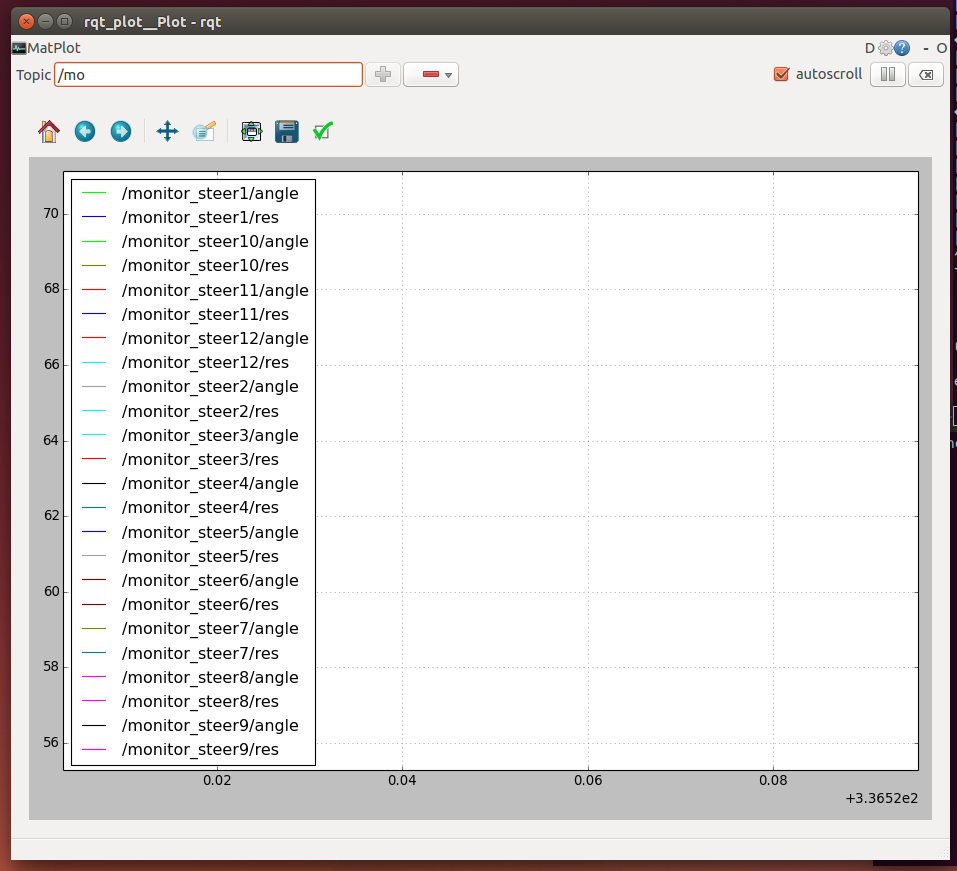
先看看效果吧
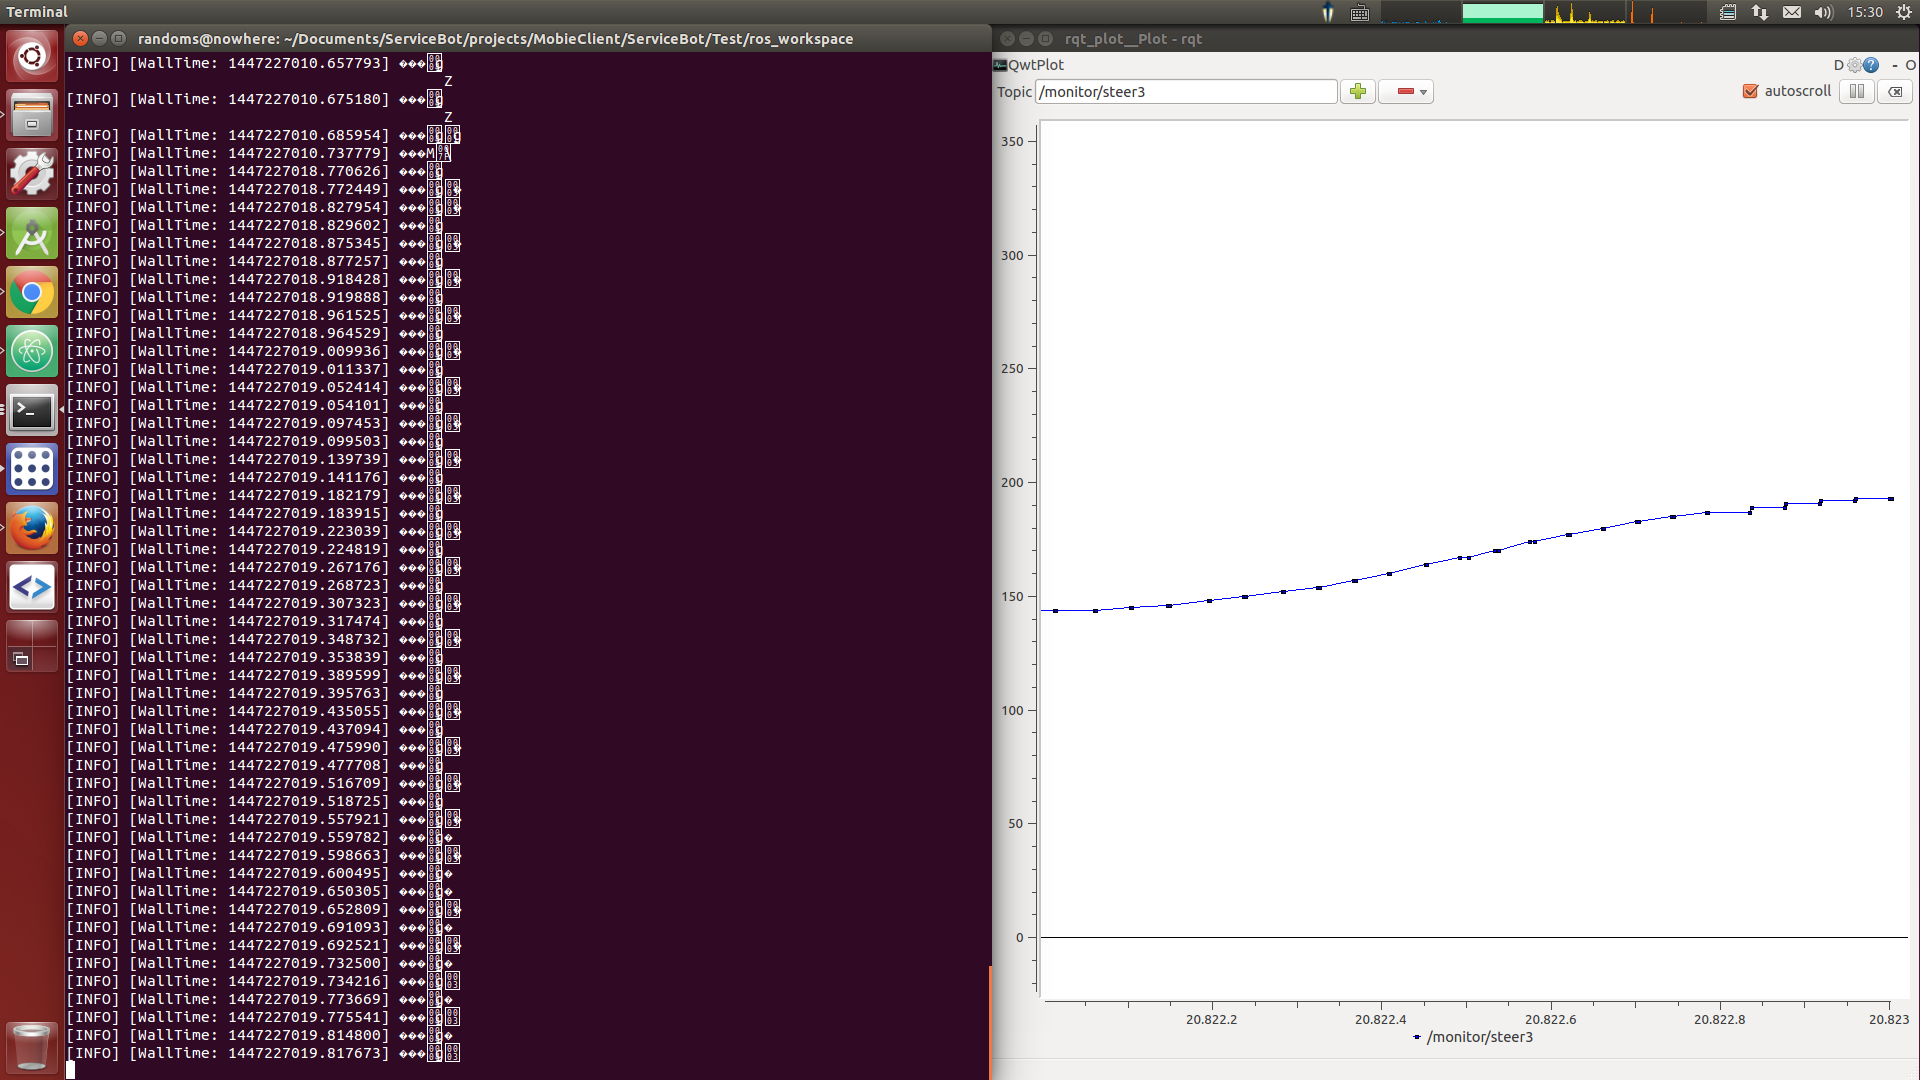
左侧是程序的log输出右侧是画出的角度图。
程序的整体结构也是比较简单的。由手机端发送舵机控制指令到装有ros系统的电脑。电脑收到数据后,从数据中取出各个舵机的角度,同时创建一个叫做monitor的topic。然后把角度信息通过这个topic发送出去。rqt_plot监听这个topic就可以画出各个舵机的实时的角度图了。
ok,开始写这个ros的package吧。
首先,创建一个ros workspace
cd ~/Documents
mkdir -p ros/workspace/src
cd ros/workspace/src
catkin_init_workspace
cd ..
catkin_make
source devel/setup.sh
这时会发现目录结构如下图

接着创建一个ros package
catkin_create_pkg statusmonitor std_msgs rospy roscpp
roscd statusmonitor

现在的目录结构应该如上图所示
src文件夹内创建monitor.py内容如下
#!/usr/bin/env python
# license removed for brevity
import rospy
import socket
from statusmonitor.msg import *
import cmds as Commands
import threading

PACKAGE_HEADER = [205, 235, 215]
dataCache = []

def getDataFromReq(req):
    pass

def unpackReq(req):
    global dataCache
    res = []
    packageList = splitReq(req)
    # process the first package
    completeData = dataCache + packageList[0]
    packageList.remove(packageList[0])
    packageList =  splitReq(completeData) + packageList

    for count in range(0, len(packageList)):
        if len(packageList[count]) != 0 and len(packageList[count]) == packageList[count][0] + 1:
            res.append(packageList[count][1:])
    lastOne = packageList[-1:][0] # the last one
    if len(lastOne) == 0 or len(lastOne) != lastOne[0] + 1:
        dataCache = lastOne
    return res


def findPackageHeader(req):
    if len(req) < 3:
        return -1
    for count in range(0, len(req) - 2):
        if req[count] == PACKAGE_HEADER[0] and req[count + 1] == PACKAGE_HEADER[1] and req[count + 2] == PACKAGE_HEADER[2]:
            return count
    return -1

def splitReq(req):
    res = []
    startIndex = 0
    newIndex = 0
    while True:
        newIndex = findPackageHeader(req[startIndex:])
        if newIndex == -1:
            break
        res.append(req[startIndex: startIndex + newIndex])
        startIndex = newIndex + 3 + startIndex
    res.append(req[startIndex:])
    return res

def parseData(cmds):
    res = None
    for count in range(0, len(cmds)):
        if chr(cmds[count][0]) == Commands.CMD_STEER_SET:
            if cmds[count][1] == 1:
                res = Steer1()
                res.angle = cmds[count][2] * 0xff + cmds[count][3]
                pub1.publish(res)
            if cmds[count][1] == 2:
                res = steer2()
                res.angle = cmds[count][2] * 0xff + cmds[count][3]
                pub2.publish(res)
            if cmds[count][1] == 3:
                res = steer3()
                res.angle = cmds[count][2] * 0xff + cmds[count][3]
                pub3.publish(res)
            if cmds[count][1] == 4:
                res = steer4()
                res.angle = cmds[count][2] * 0xff + cmds[count][3]
                pub4.publish(res)
            if cmds[count][1] == 5:
                res = steer5()
                res.angle = cmds[count][2] * 0xff + cmds[count][3]
                pub5.publish(res)
            if cmds[count][1] == 6:
                res = steer6()
                res.angle = cmds[count][2] * 0xff + cmds[count][3]
                pub6.publish(res)
            if cmds[count][1] == 7:
                res = steer7()
                res.angle = cmds[count][2] * 0xff + cmds[count][3]
                pub7.publish(res)
            if cmds[count][1] == 8:
                res = steer8()
                res.angle = cmds[count][2] * 0xff + cmds[count][3]
                pub8.publish(res)
            if cmds[count][1] == 9:
                res = steer9()
                res.angle = cmds[count][2] * 0xff + cmds[count][3]
                pub9.publish(res)
            if cmds[count][1] == 10:
                res = steer10()
                res.angle = cmds[count][2] * 0xff + cmds[count][3]
                pub10.publish(res)
            if cmds[count][1] == 11:
                res = steer11()
                res.angle = cmds[count][2] * 0xff + cmds[count][3]
                pub11.publish(res)
            if cmds[count][1] == 12:
                res = steer12()
                res.angle = cmds[count][2] * 0xff + cmds[count][3]
                pub12.publish(res)
            if cmds[count][1] == 13:
                res = steer13()
                res.angle = cmds[count][2] * 0xff + cmds[count][3]
                pub13.publish(res)
            if cmds[count][1] == 14:
                res = steer14()
                res.angle = cmds[count][2] * 0xff + cmds[count][3]
                pub14.publish(res)
    return res

class handleSocket(threading.Thread):

    def __init__(self, conn, addr):
        threading.Thread.__init__(self)
        self.conn = conn
        self.addr = addr

    def run(self):
        print 'Connection address:', addr
        while 1:
            data = conn.recv(BUFFER_SIZE)
            if not data: break
            conn.send(data)  # echo
            rospy.loginfo(data)
            dataList = []
            for c in data:
                dataList.append(ord(c))
            parseData(unpackReq(dataList))

        conn.close()


if __name__ == '__main__':

    pub1 = rospy.Publisher('monitor_steer1', Steer1, queue_size=10)
    pub2 = rospy.Publisher('monitor_steer2', steer2, queue_size=10)
    pub3 = rospy.Publisher('monitor_steer3', steer3, queue_size=10)
    pub4 = rospy.Publisher('monitor_steer4', steer4, queue_size=10)
    pub5 = rospy.Publisher('monitor_steer5', steer5, queue_size=10)
    pub6 = rospy.Publisher('monitor_steer6', steer6, queue_size=10)
    pub7 = rospy.Publisher('monitor_steer7', steer7, queue_size=10)
    pub8 = rospy.Publisher('monitor_steer8', steer8, queue_size=10)
    pub9 = rospy.Publisher('monitor_steer9', steer9, queue_size=10)
    pub10 = rospy.Publisher('monitor_steer10', steer10, queue_size=10)
    pub11 = rospy.Publisher('monitor_steer11', steer11, queue_size=10)
    pub12 = rospy.Publisher('monitor_steer12', steer12, queue_size=10)
    pub13 = rospy.Publisher('monitor_steer13', steer13, queue_size=10)
    pub14 = rospy.Publisher('monitor_steer14', steer14, queue_size=10)

    rospy.init_node('talker', anonymous=True)


    TCP_IP = '0.0.0.0'
    TCP_PORT = 50000
    BUFFER_SIZE = 1024  # Normally 1024, but we want fast response


    s = socket.socket(socket.AF_INET, socket.SOCK_STREAM)
    s.bind((TCP_IP, TCP_PORT))
    s.listen(1)
    while 1:
        conn, addr = s.accept()
        handleSocket(conn, addr).start()
从程序入口开始说明。首先创建了一系列的ros的publisher,这个可以用来向topic发送信息。然后初始化ros节点。
接着创建一个socket,监听发送由机器人控制端发送来的指令数据。收到数据后就把数据包解开,提取处各个舵机的角度,通过最开始创建的publisher发送出去。
主程序就是这样,下面开始创建ros message。在src文件夹内创建msg文件夹,并在其中创建Steer1.msg到Steer14.msg,这些文件的内容都是一样的
float32 angle

float32 res
msg文件就是表明msg的格式的文件。之后编译包的时候这些文件会被编译成c++文件和python文件。
接着就是修改makefile,因为msg是需要编译的嘛。
find_package(catkin REQUIRED COMPONENTS
  roscpp
  rospy
  std_msgs
  message_generation
)
第一步就是在find_package中添加message_generation
然后添加msg文件
add_message_files(
   FILES
   Steer1.msg
   Steer2.msg
   Steer3.msg
   Steer4.msg
   Steer5.msg
   Steer6.msg
   Steer7.msg
   Steer8.msg
   Steer9.msg
   Steer10.msg
   Steer11.msg
   Steer12.msg
   Steer13.msg
  )
在generate msg 添加 std_msg
generate_messages(
   DEPENDENCIES
  std_msgs
)
在依赖中加入message_runtime
catkin_package(
# INCLUDE_DIRS include
LIBRARIES statusmonitor
CATKIN_DEPENDS roscpp rospy std_msgs message_runtime
#  DEPENDS system_lib
)
到这里就应该差不多了。
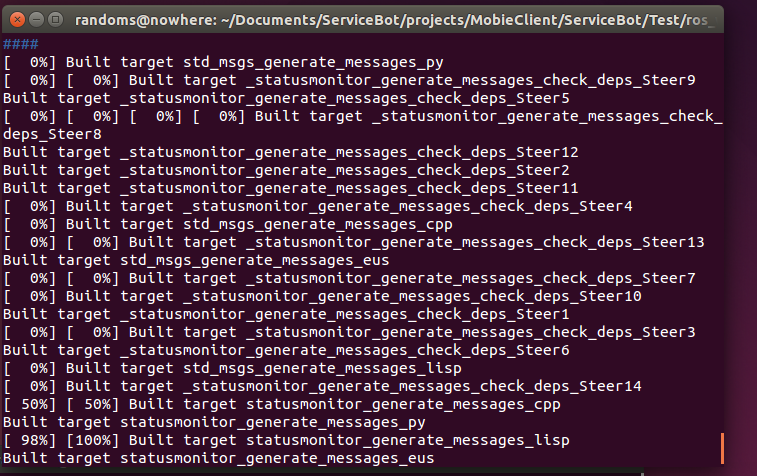
开始编译
cd ~/Documents
cd ros/workspace/src
catkin_make
如果输出如下图就说明编译正确
下一步就是开始运行了
source devel/setup.sh
rosrun statusmonitor monitor.py
这样当收到控制端发送来的数据时就会如下显示

在一个新终端中启动rqt_plot,然后选择想要观察的topic就行了