ROS Group 产品服务
Product Service 开源代码库
Github 官网
Official website 技术交流
Technological exchanges 激光雷达
LIDAR ROS教程
ROS Tourials 深度学习
Deep Learning 机器视觉
Computer Vision
xiaoqiang tutorial (15) AMCL navigation test
-
AMCL Navigation Test
The following will demonstrate the AMCL navigation operation using rplidar a2 as the scan input and the map file created in Tutorial 14 as the global map.
1 preparations
Install and upgrade
nav_test,laser_filterspackage first.1.1 ssh login Xiaoqiang host and cd to Xiaoqiang’s ros workspace
ssh xiaoqiang@192.168.xxx.xxx -X
cd Documents/ros/src/
1.2 Update upgrade package
cd  laser_filters
git stash
git pull
cd ..
cd nav_test
git stash
git pull
cd ..
cd ..
catkin_make
1.3 Update the Xiaoqiang hosts file and the hosts file of the local virtual machine so that Xiaoqiang and the local virtual machine can communicate with each other. Refer to sections 1.A and 1.B in Tutorial 13.
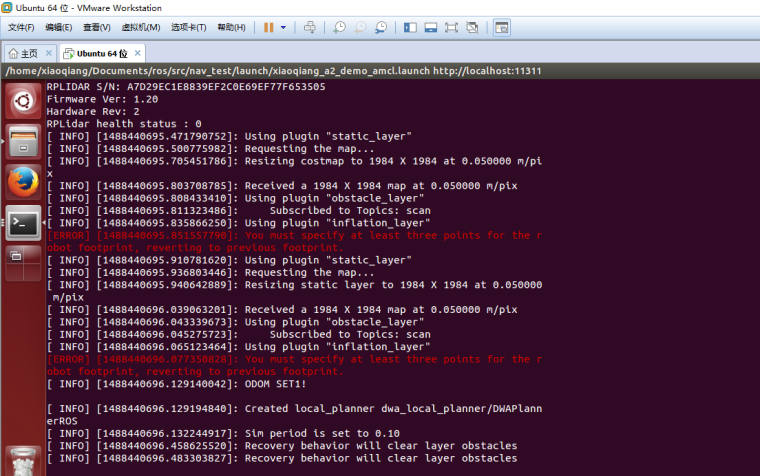
2.Start navigation node
First, copy the two map files created in Tutorial 14 to
/home/xiaoqiang/Documents/ros/src/nav_test/maps/, overwrite the files with the same name.roslaunch nav_test xiaoqiang_a2_demo_amcl.launchNormally there will be similar results in the figure below, while the lidar starts to rotate
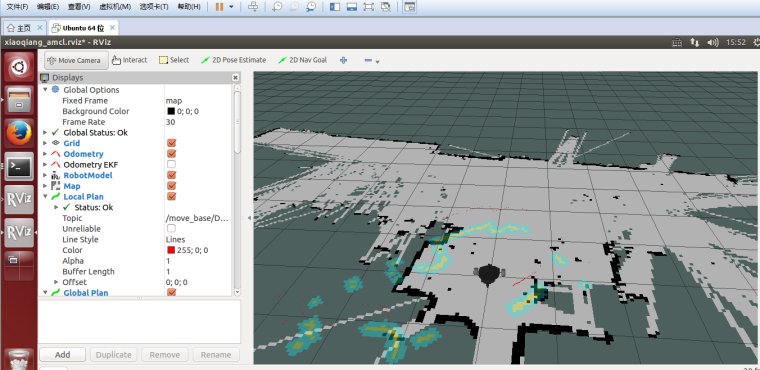
3 Start rviz
3.1 Start rviz in the local virtual, select the open
nav_test/config/xiaoqiang_amcl.rvizconfiguration file in the work directory of Xiaoqiang rosexport ROS_MASTER_URI=http://xiaoqiang-desktop:11311 rviz
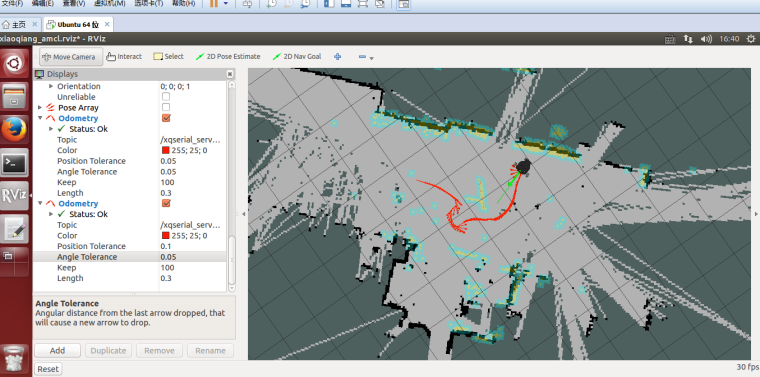
3.2 After waiting for a few seconds, rviz will normally have a screen similar to the one below.
4.Start navigation test
4.1 In rviz, use 2D Pose Estimation to set the position of the initial pose of the robot in the map. Because the AMCL algorithm needs a more accurate initial value, the actual position of the robot in the map can be further matched by the current liadr scanning dot matrix.
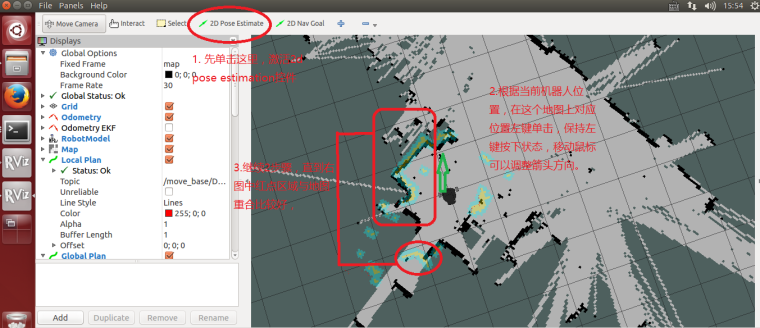
4.2 Using 2D Nav Goal in rviz to release targets to Xiaoqiang
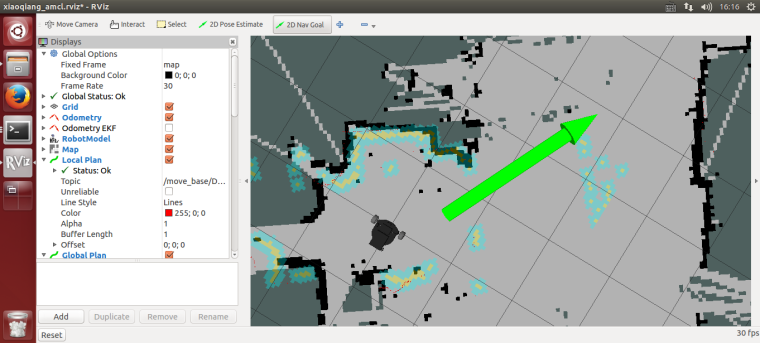
4.3 Xiaoqiang began to move autonomously to the designated location
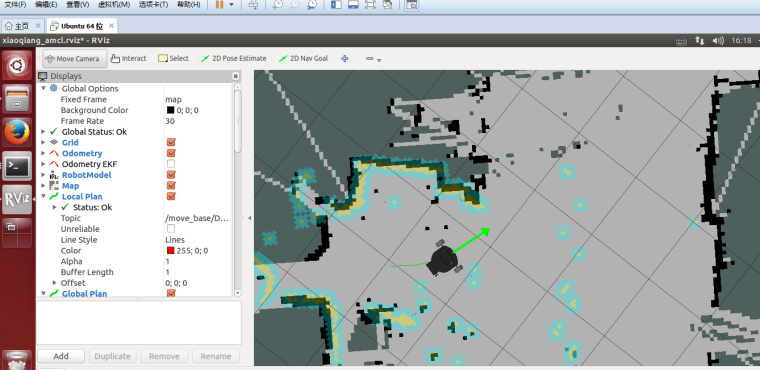
5. Set up Xiaoqiang’s 2D Nav Goal and observe the movement of Xiaoqiang.