ROS Group 产品服务
Product Service 开源代码库
Github 官网
Official website 技术交流
Technological exchanges 激光雷达
LIDAR ROS教程
ROS Tourials 深度学习
Deep Learning 机器视觉
Computer Vision
Cartographer install and demo
-
Cartographer is a set of laser radar slam algorithm that was open sourced by Google in September 2016. Its precision and effect are among the best in the industry. This article will demonstrate how to use Cartographer in the ROS Kinetic. Click to view the result video.
Steps:
-
Installation dependency package
# Install the required libraries that are available as debs. sudo apt-get update sudo apt-get install -y \ cmake \ g++ \ git \ google-mock \ libboost-all-dev \ libcairo2-dev \ libeigen3-dev \ libgflags-dev \ libgoogle-glog-dev \ liblua5.2-dev \ libprotobuf-dev \ libsuitesparse-dev \ libwebp-dev \ ninja-build \ protobuf-compiler \ python-sphinx -
Install ceres solver
cd ~/Documents git clone https://github.com/BlueWhaleRobot/ceres-solver.git cd ceres-solver mkdir build cd build cmake .. make -j sudo make install -
Install prtobuf 3.0
cd ~/Documents git clone https://github.com/google/protobuf.git cd protobuf git checkout v3.6.1 mkdir build cd build cmake \ -DCMAKE_POSITION_INDEPENDENT_CODE=ON \ -DCMAKE_BUILD_TYPE=Release \ -Dprotobuf_BUILD_TESTS=OFF \ ../cmake make -j 2 sudo make install -
Install cartographer
cd ~/Documents git clone https://github.com/BlueWhaleRobot/cartographer.git cd cartographer mkdir build cd build cmake .. make -j sudo make install -
Install cartographer_ros
cd ~/Documents/ros/src #请修改路径到自己的ROS catkin工作空间 git clone https://github.com/BlueWhaleRobot/cartographer_ros.git cd .. catkin_make -
The installation is complete, start downloading the bag file for testing
Click the link to download the file and save it to your desktop.
-
Start the demo, you can see rviz start and start to build
According to the computing power of the personal platform, the complete running time of this demo is generally between half an hour and one hour.
roslaunch cartographer_ros offline_backpack_2d.launch bag_filenames:=${HOME}/Desktop/cartographer_paper_deutsches_museum.bag -
Save the map and end the test
roslaunch cartographer_ros assets_writer_ros_map.launch bag_filenames:=${HOME}/Desktop/cartographer_paper_deutsches_museum.bag pose_graph_filename:=${HOME}/Desktop/cartographer_paper_deutsches_museum.bag.pbstream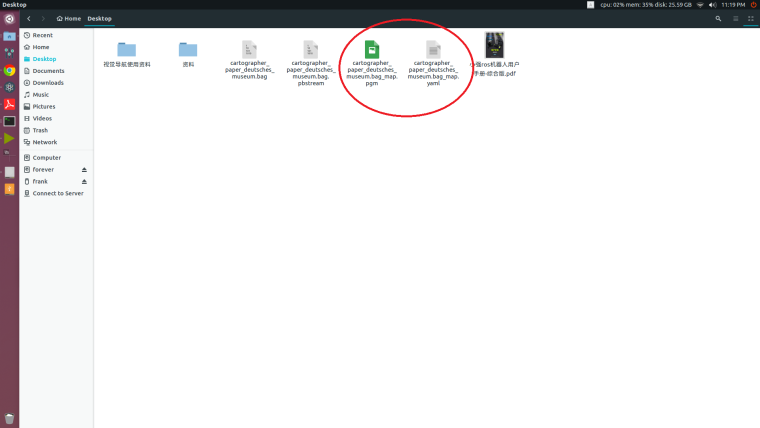
The created map file will now be generated in the .ros folder in the home directory. These two files (pgm and yaml) can be loaded in the map_server in ros.
-